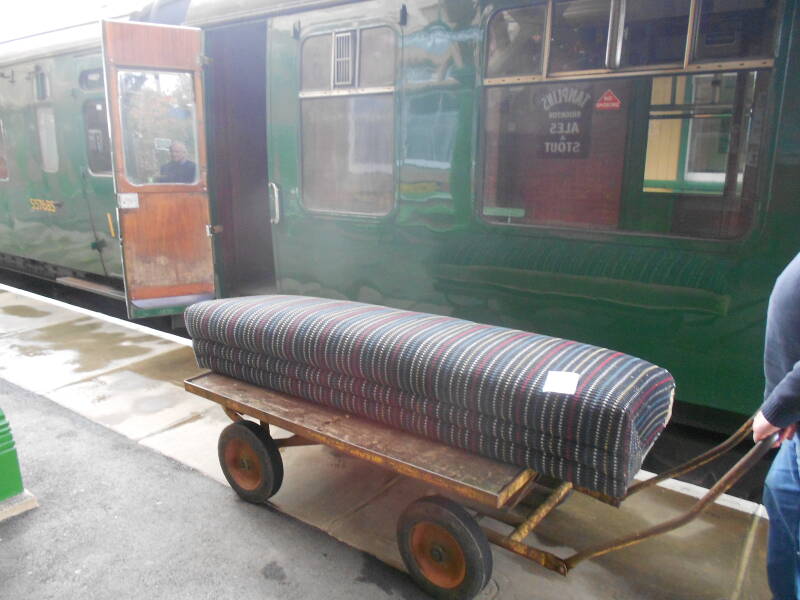
BR Mk1 Carriage 21246
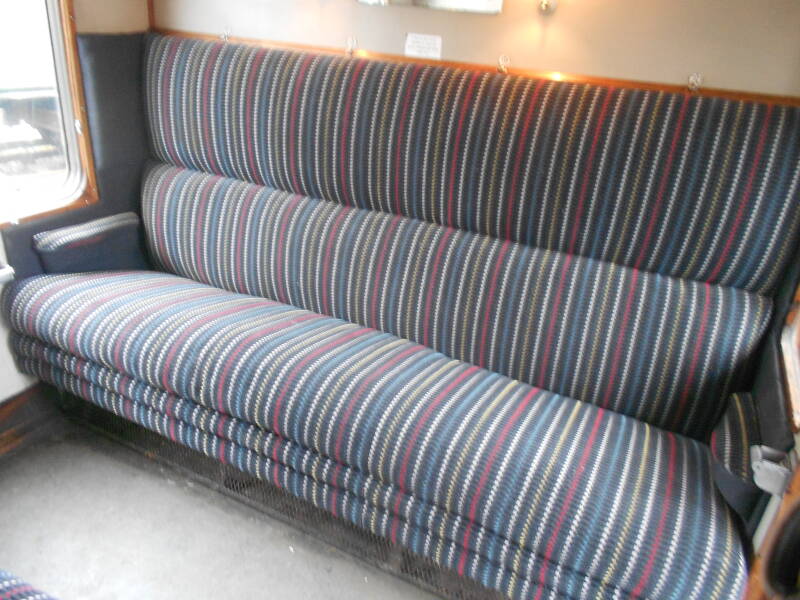
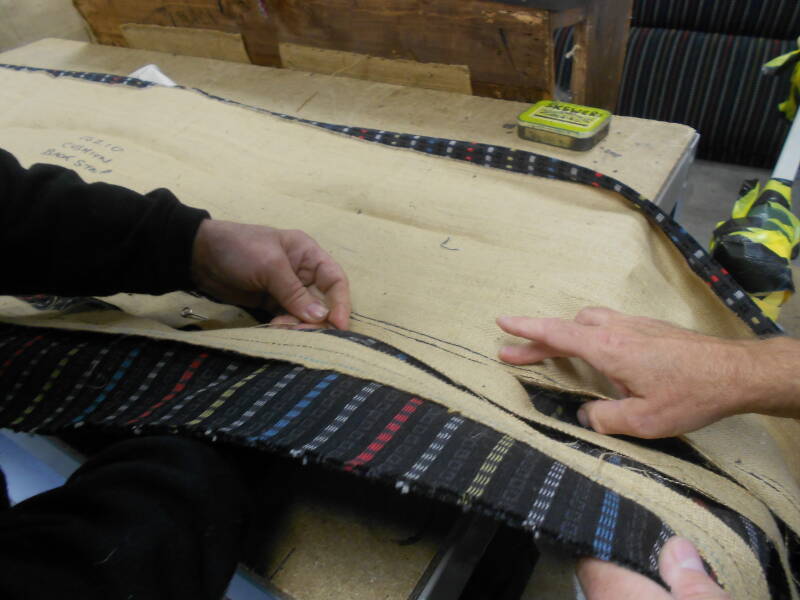
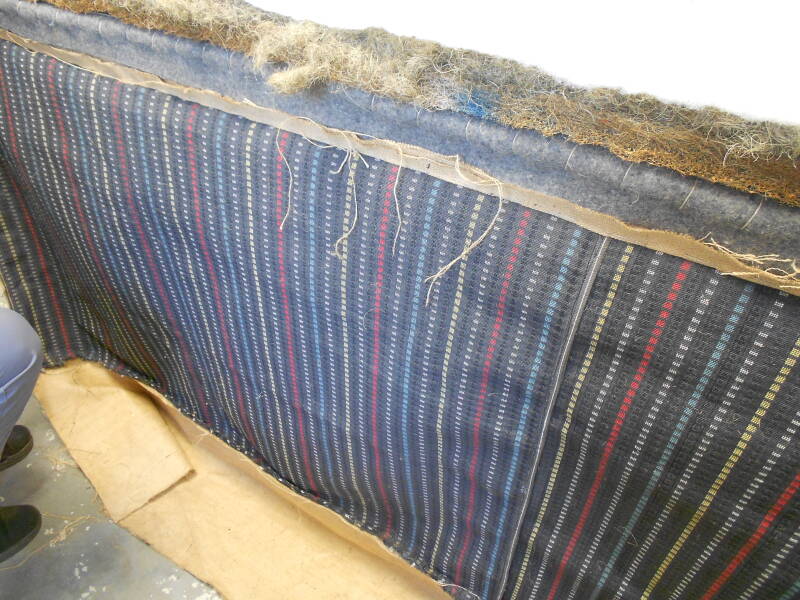
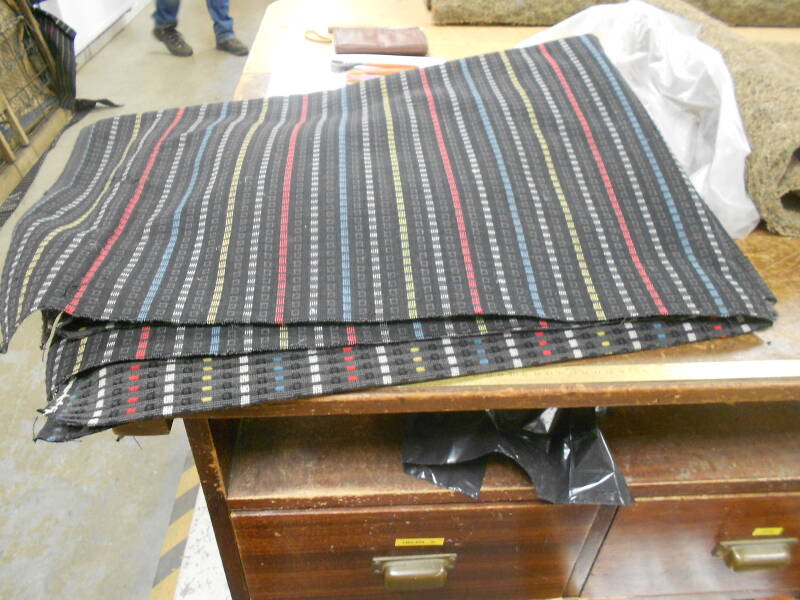
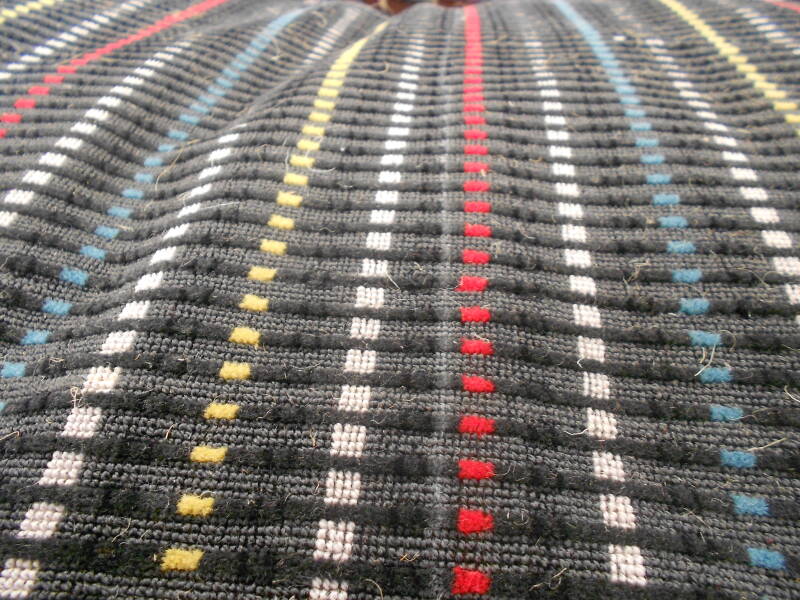
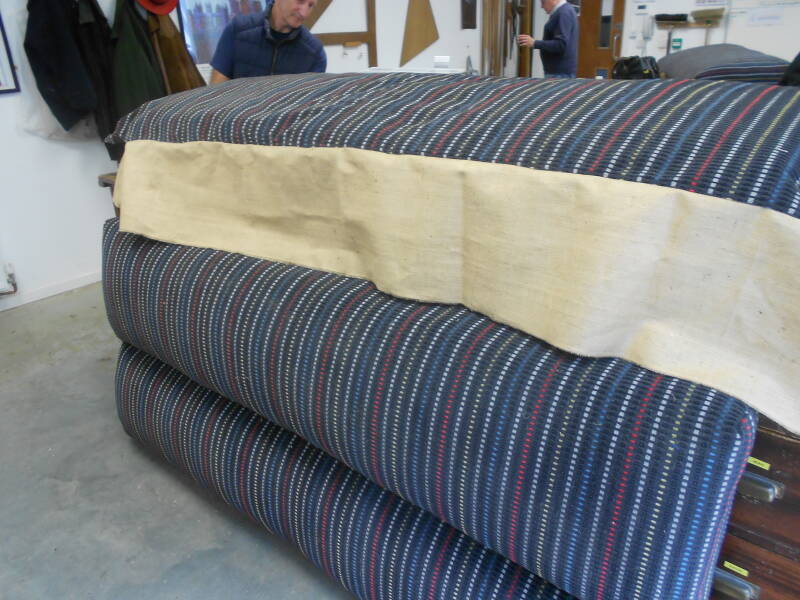
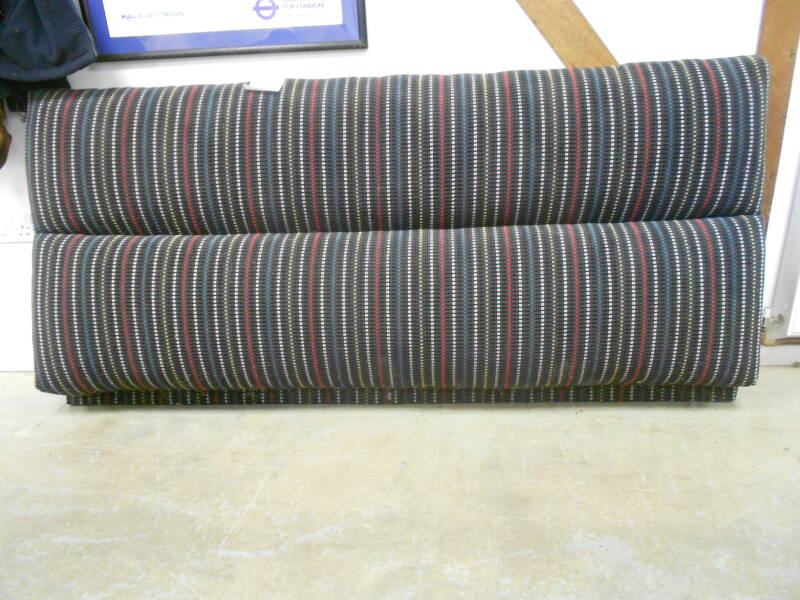
A 1962 composite coach, 21246 is one of the newest at Bluebell Railway. Similar to 16210, retrimmed at almost the same time, 21246 features the Trojan moquette pattern. Both carriages are similar in construction consisting of standard class compartments, a corridor and first class compartments. Both also use a moquette with striped patterns with a specific order of colours, requiring attention to detail to keep these subtle stripes in the correct order throughout the carriage, in particular by designing the template accordingly. The stripes are matched from seat back to base. As each one of the separate components is worked on by an individual member of the team, great collaboration and teamwork is required for the final matching fit.
This part of my work appeared on Great British Railway Journeys TV show with Michael Portillo, and was one of the last shows I watched with mum. Series 16, episode 4.
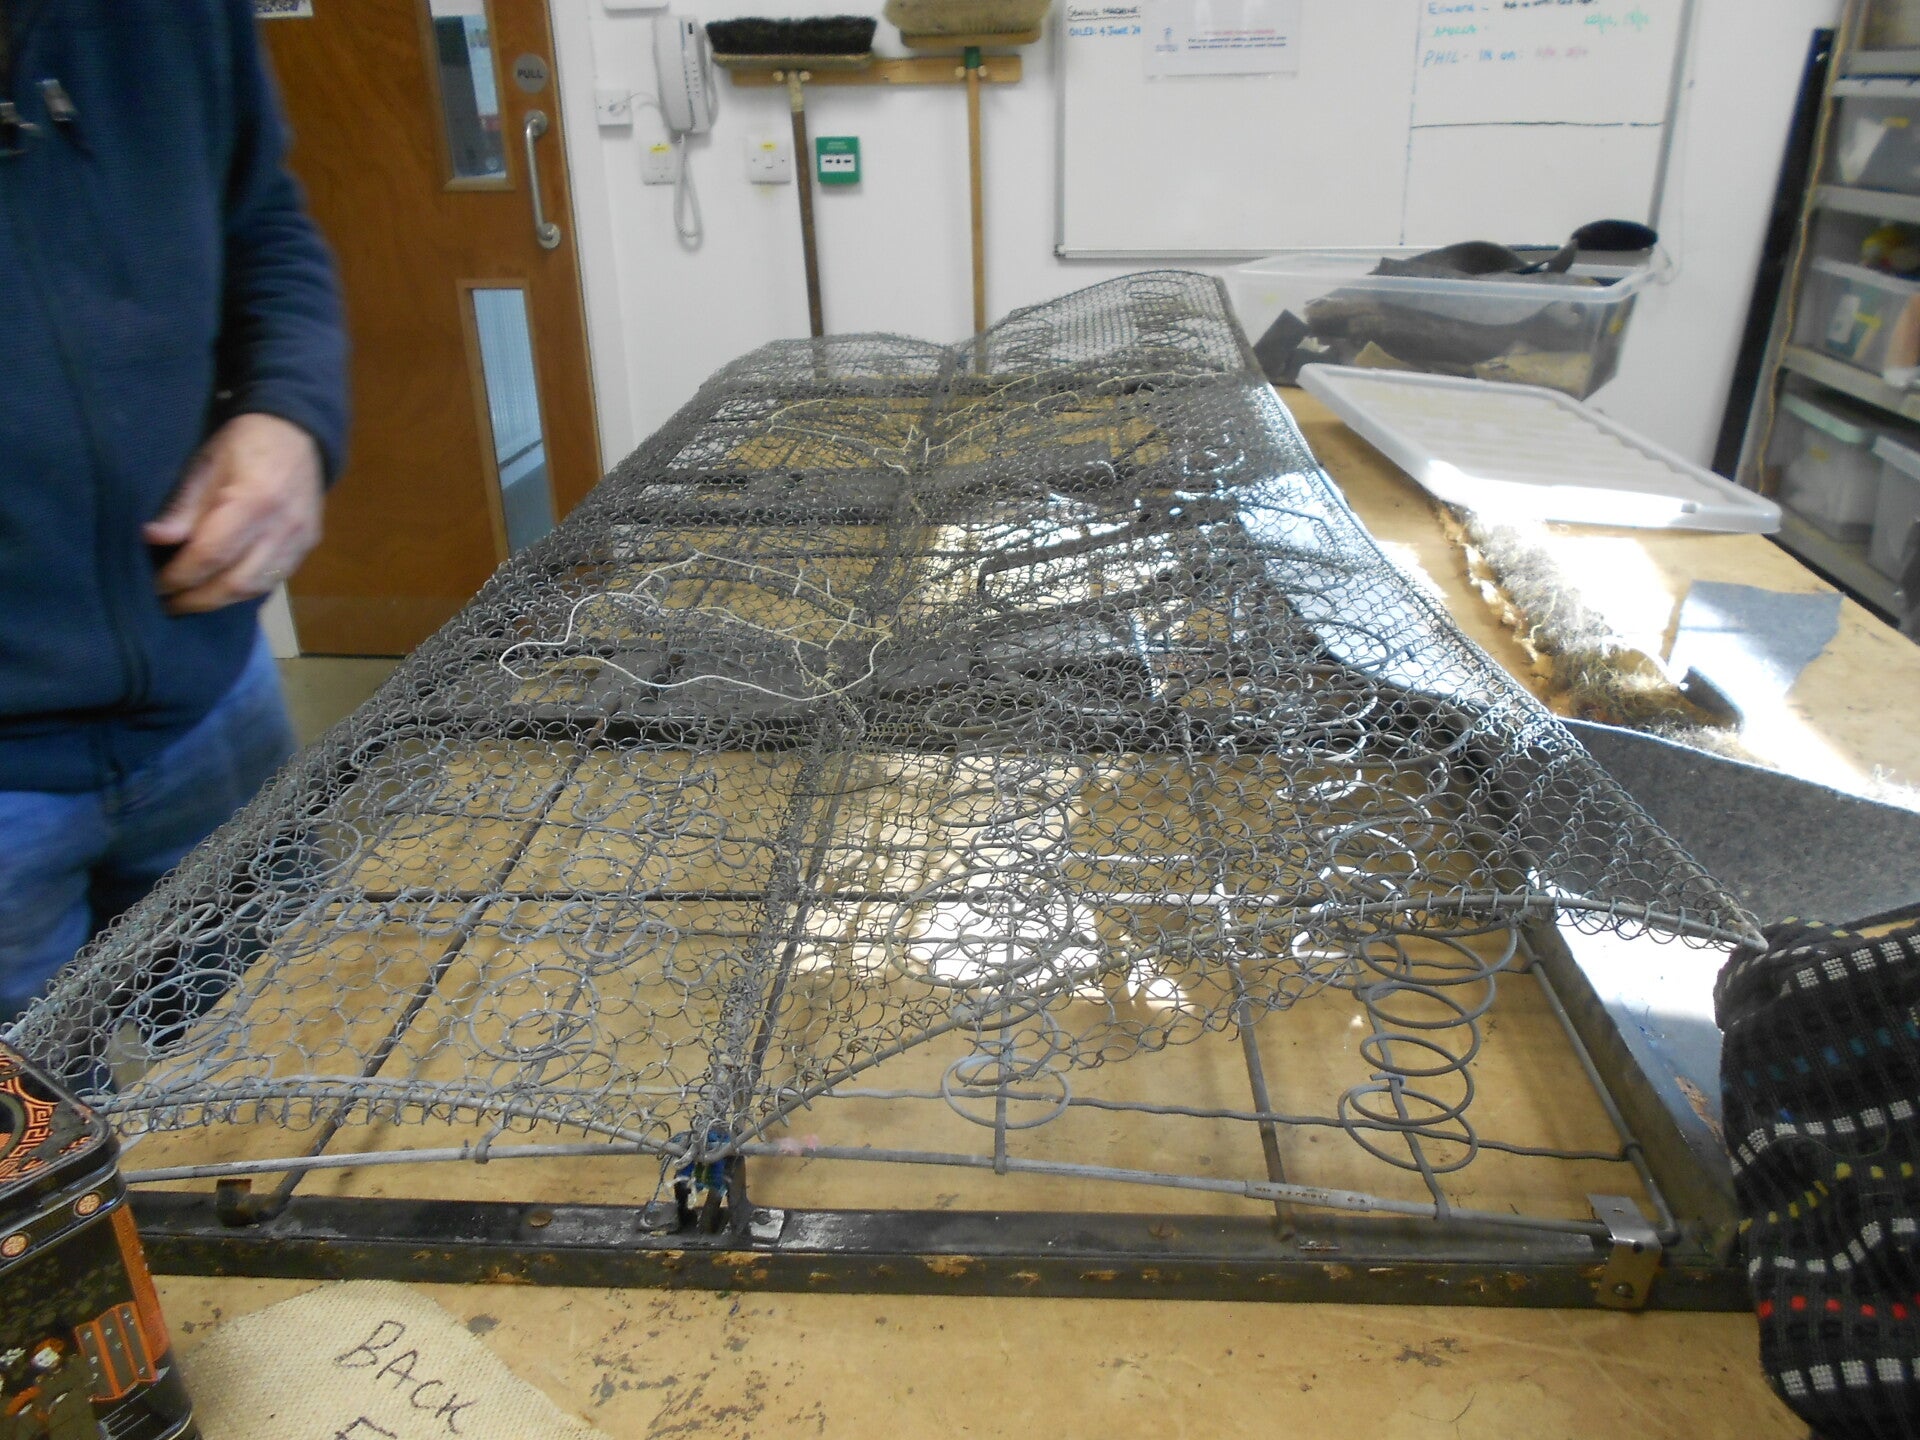
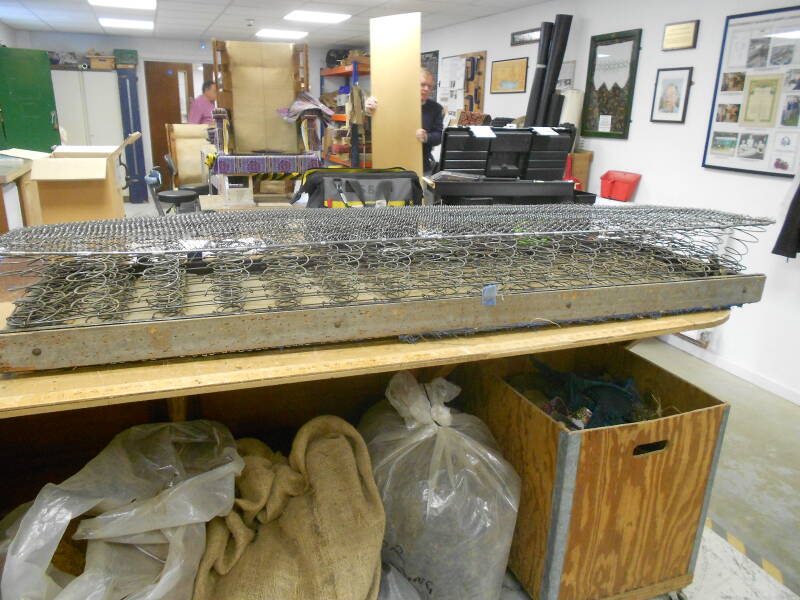
Starting with the empty frame: a seat back
While many components at the Bluebell require a strip down first, this is the bare frame with which we start the rebuild process. This is a back which passengers would lean on, rather than sitting on the complimentary seat base, which uses a different frame and spring unit.
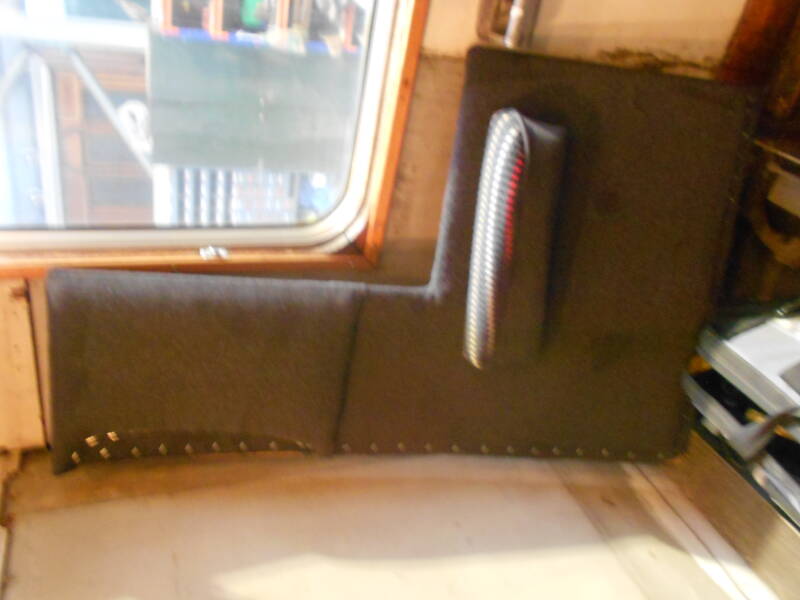
Being standard class, this seat has no piping or armrests within the seat frame, but it does have some on the carriage wall, shown below.
The seat back is approx 8ft wide and 3ft high, with depth coming out at over 9 inches at the widest point.
The process of a standard class seat back is available to view at the button below. On a smaller carriage seat.
Seat Base
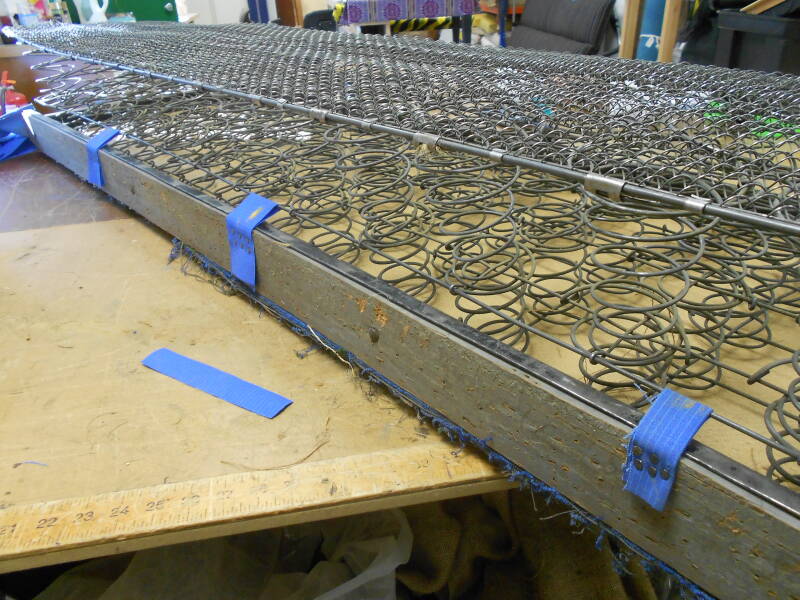
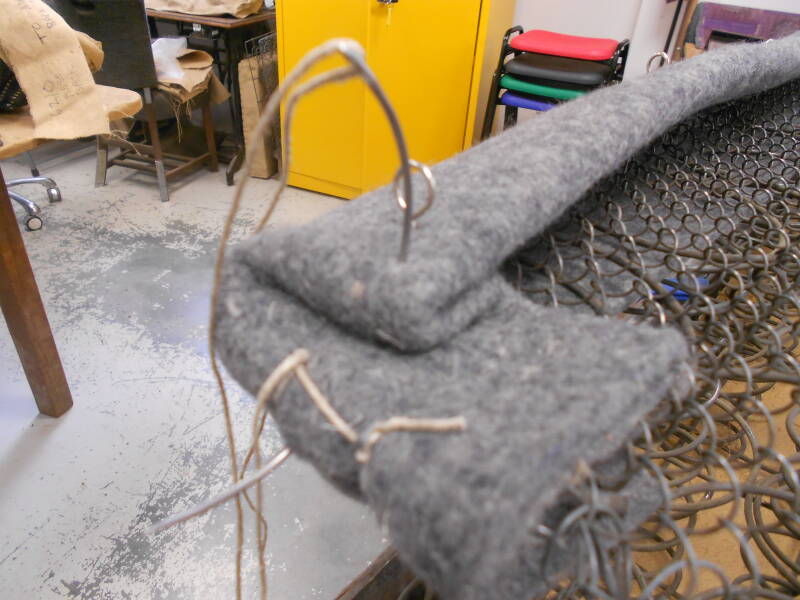
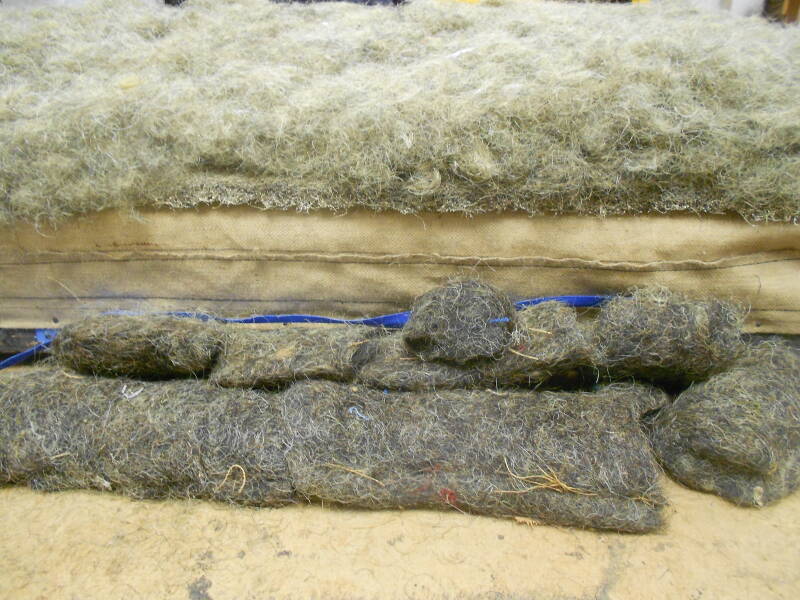
Securing the frame
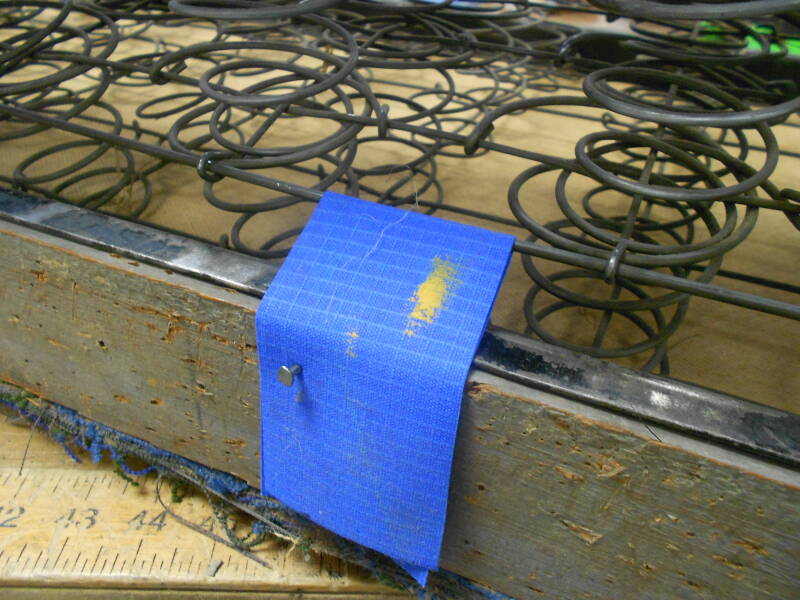
Bare frame is attached to spring unit with roofing canvas (blue). A hardboard base below the spring unit keeps it in the frame

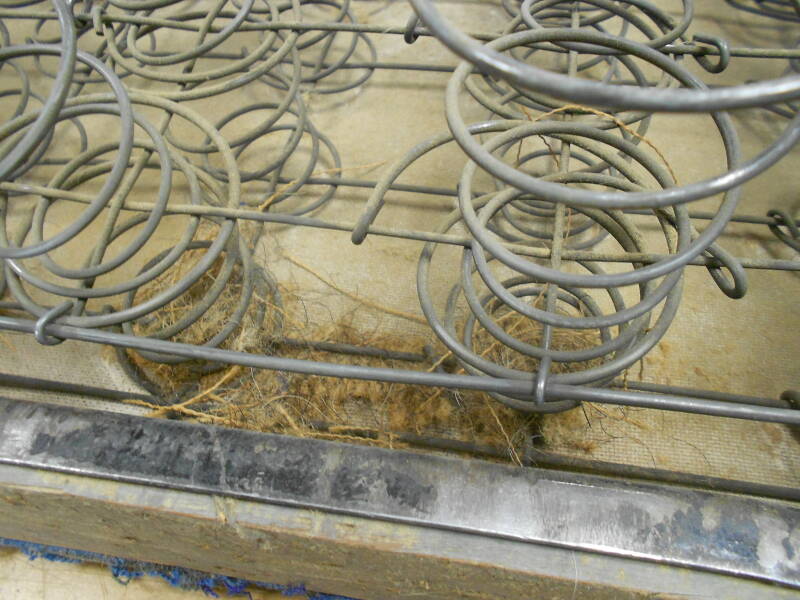
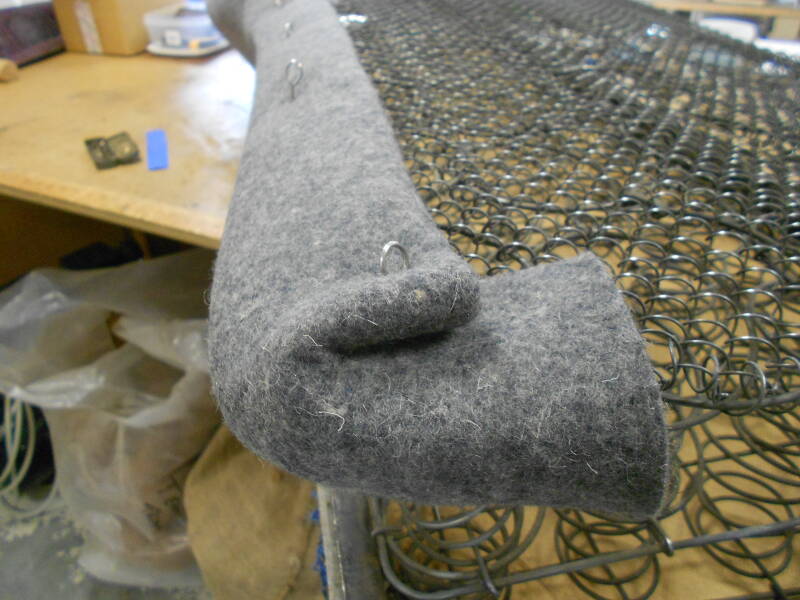
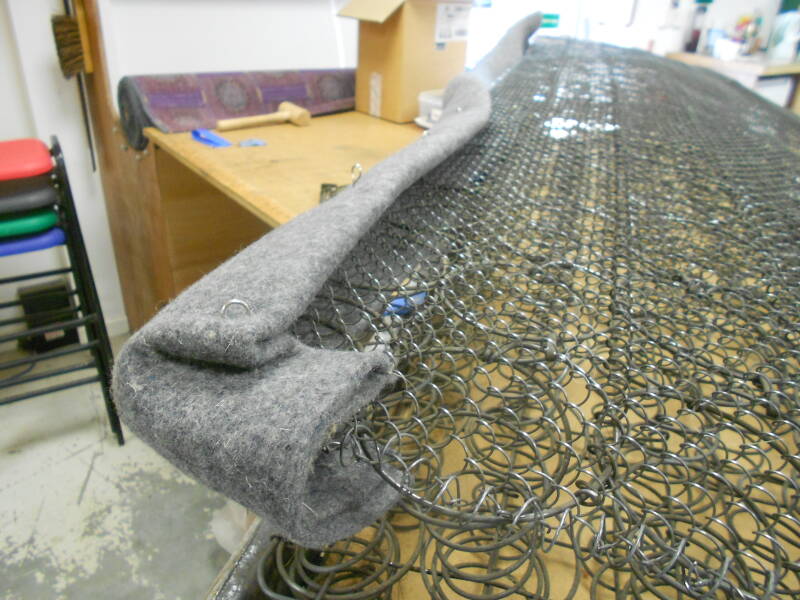
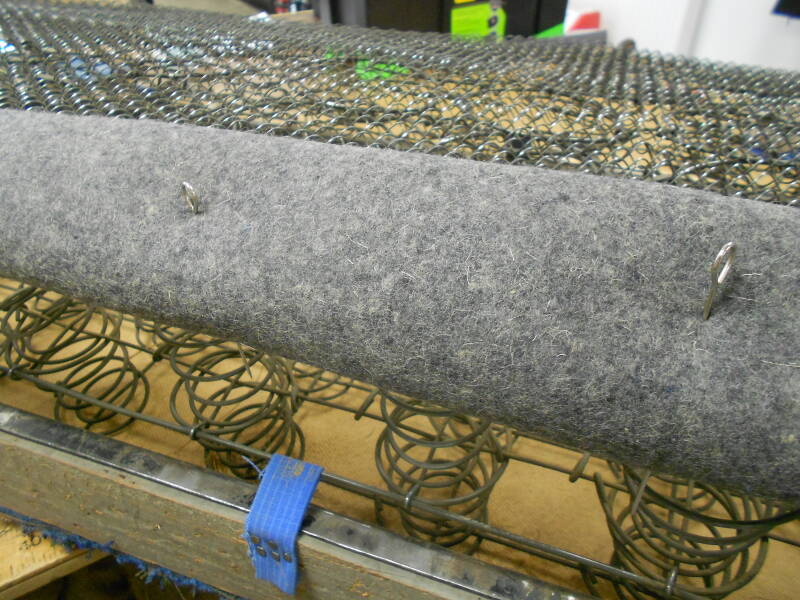
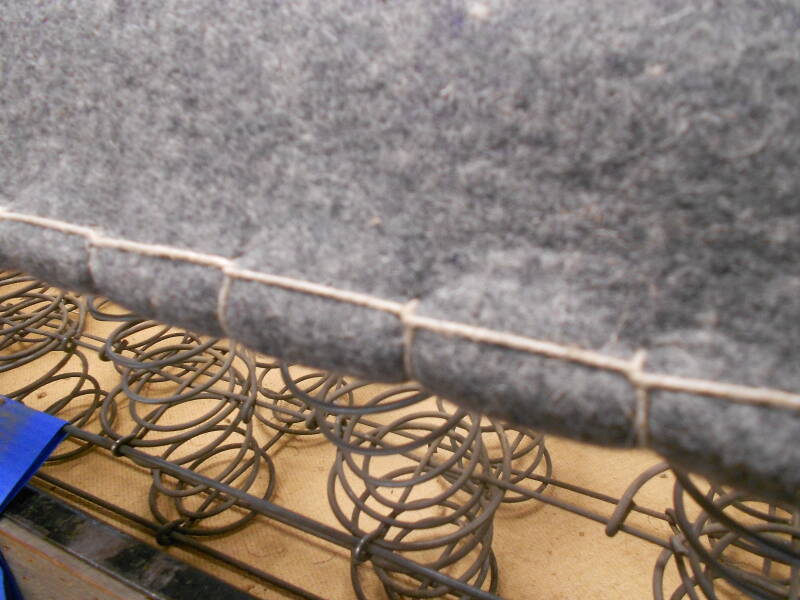
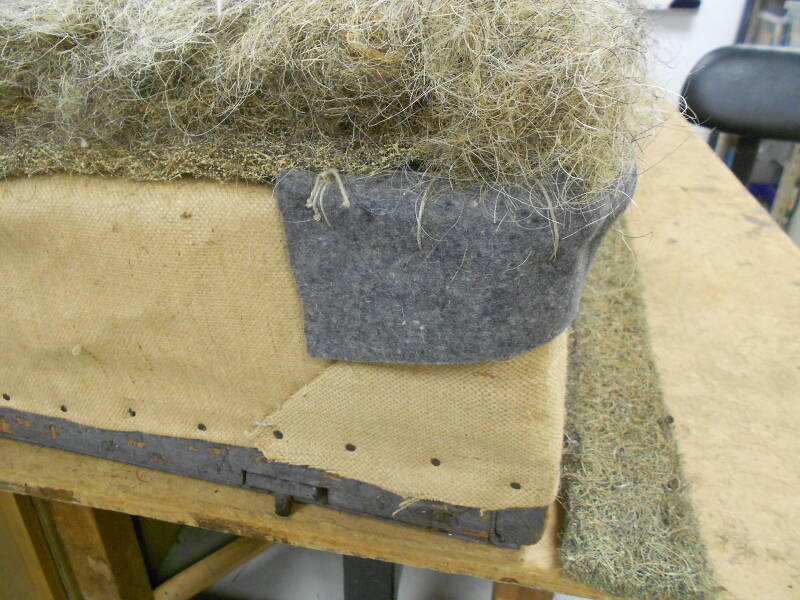
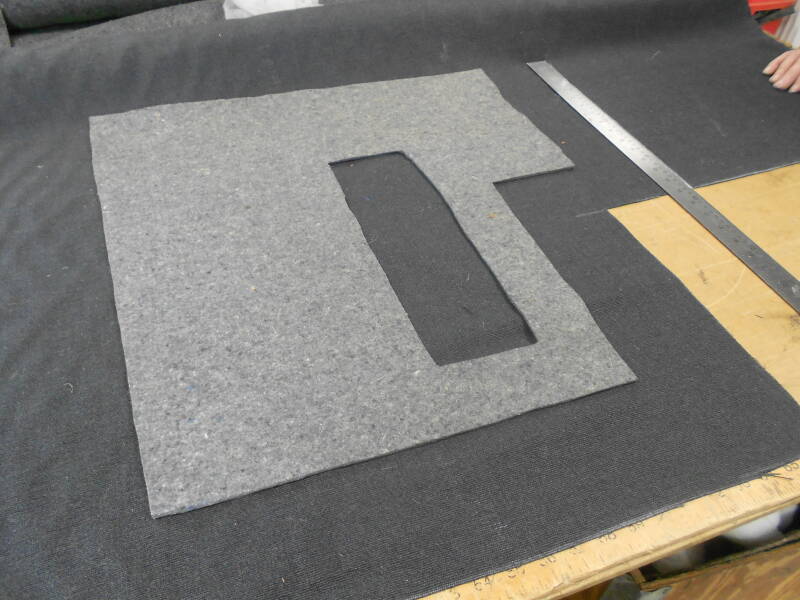
Edge protection
Adding felt to frame edge. Blanket stitched felt to protect heavy wear on the front edge of the seat.
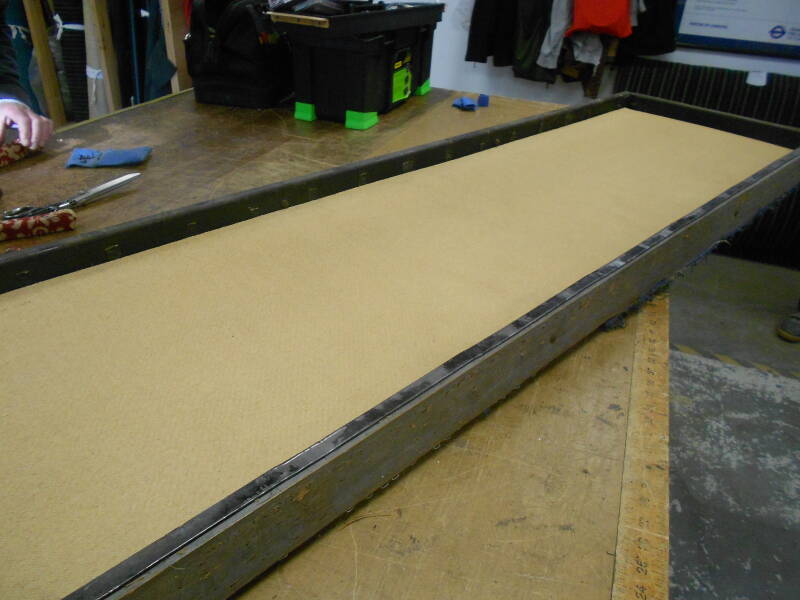
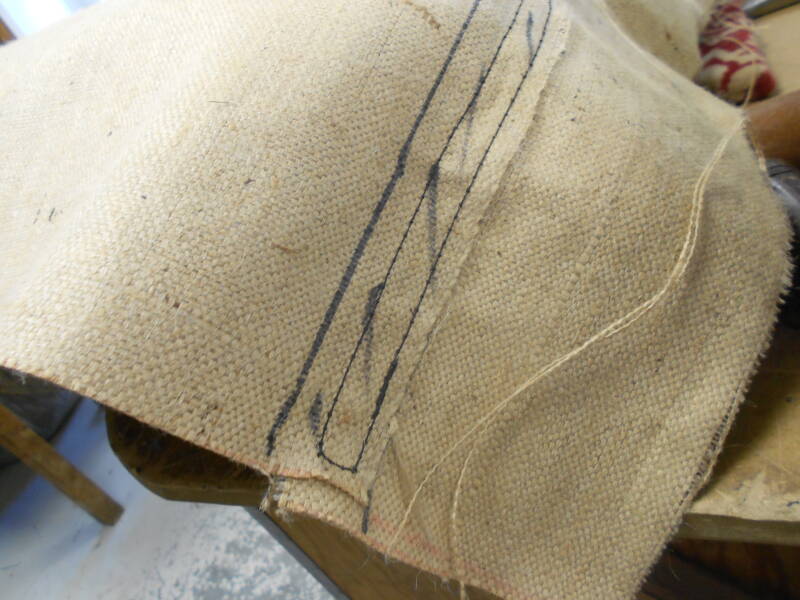
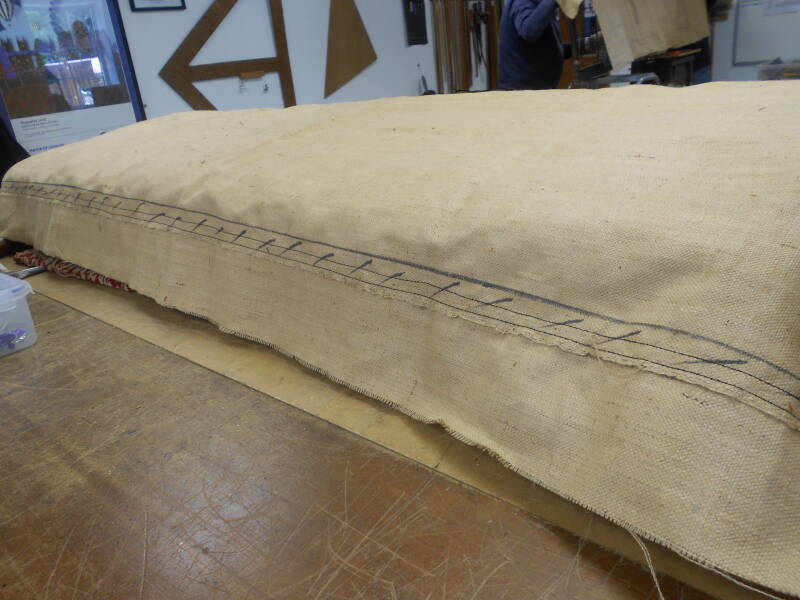
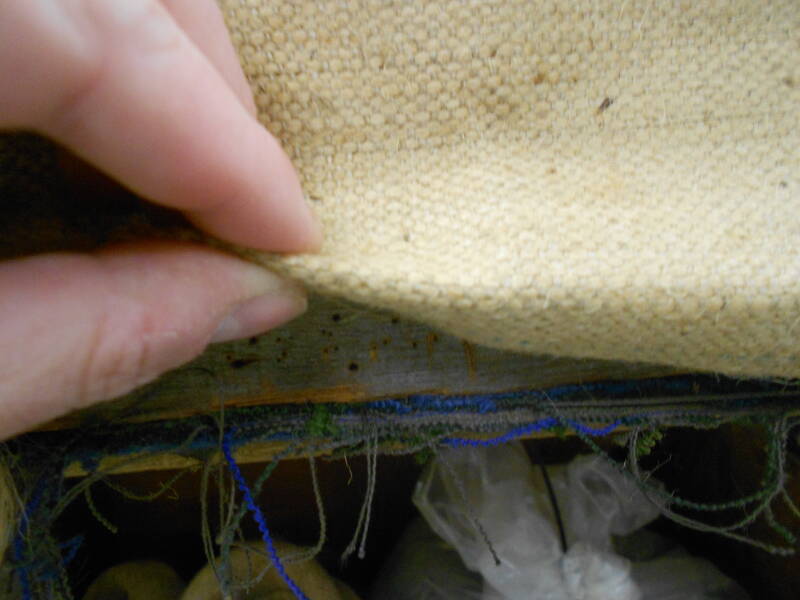
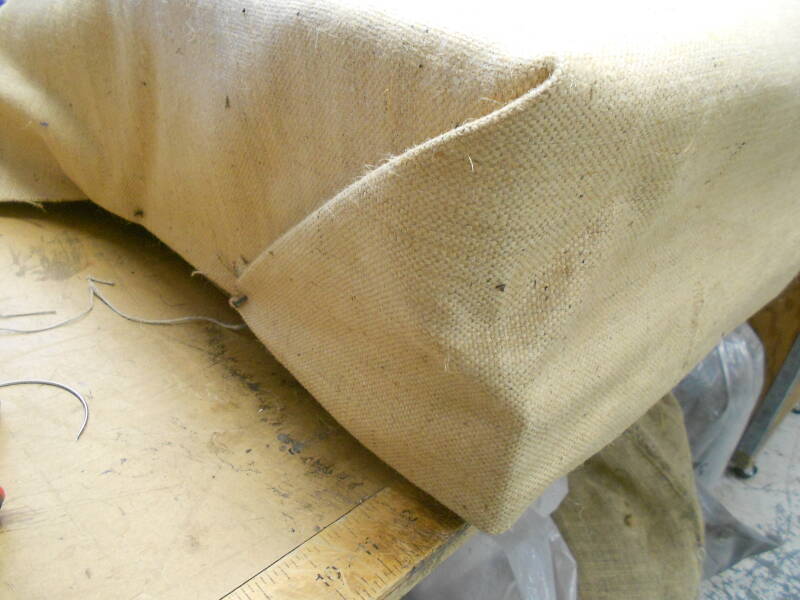
Canvas structure
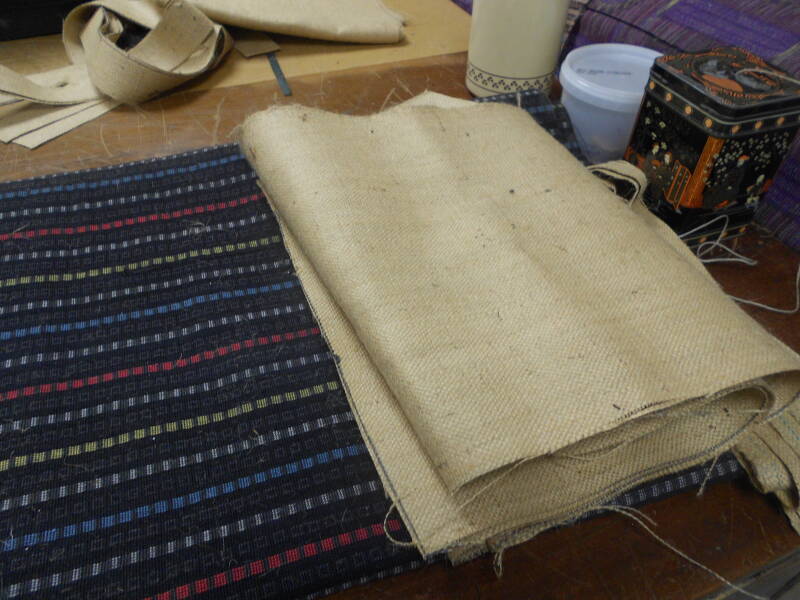
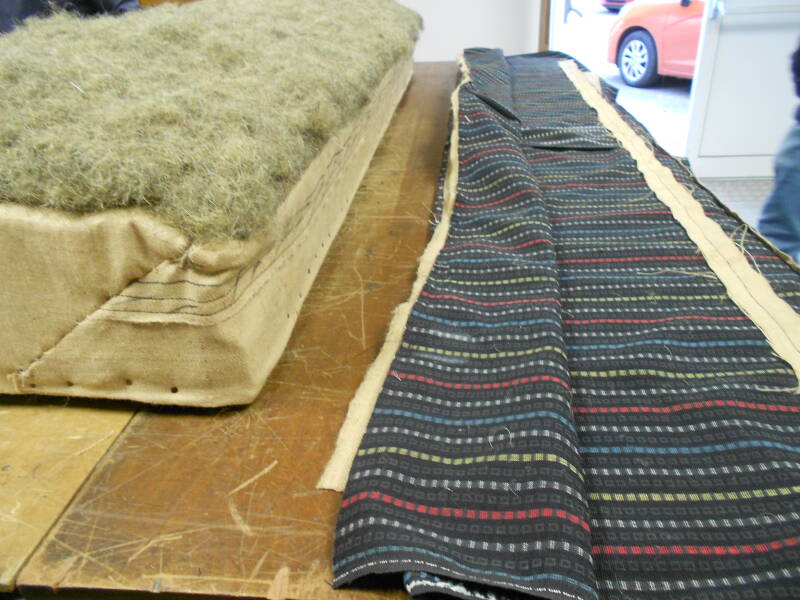
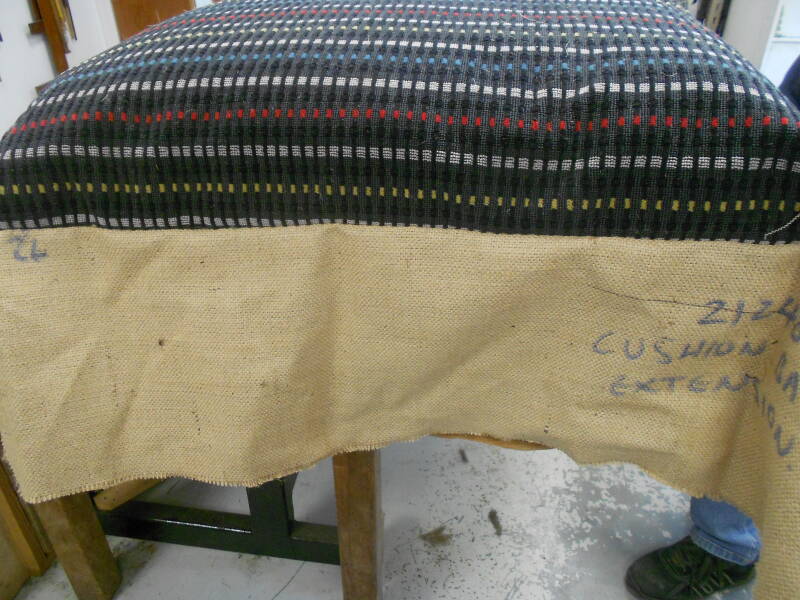
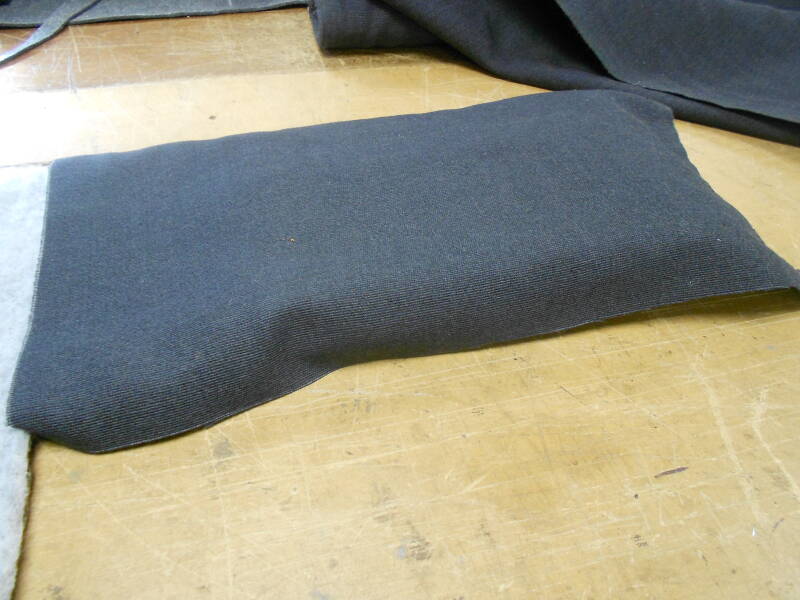
Adding canvas cover; The hair will eventually rest on this later. First, it is cut to size. As this is one of the larger seats we make, an extension to the canvas is machine sewn together to form at single piece. The corners are Frenched (hand-sewn finished) ready for the next layer.


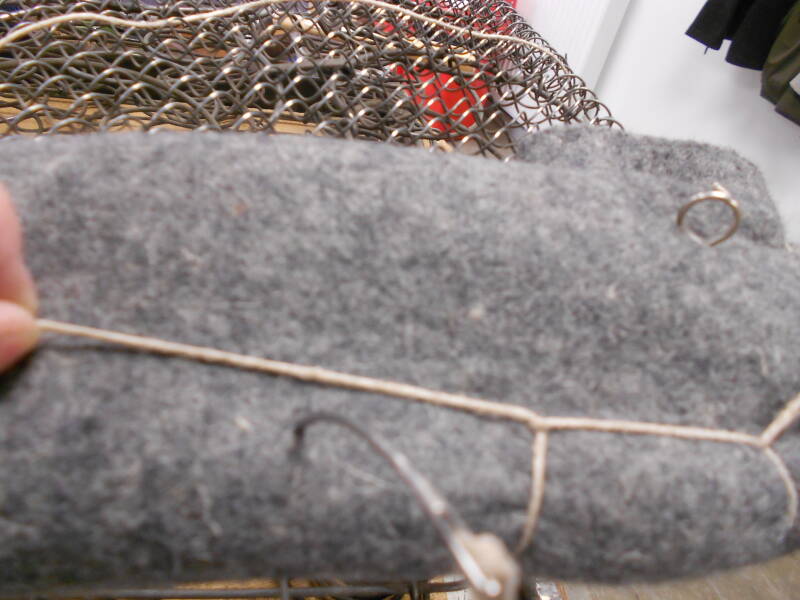
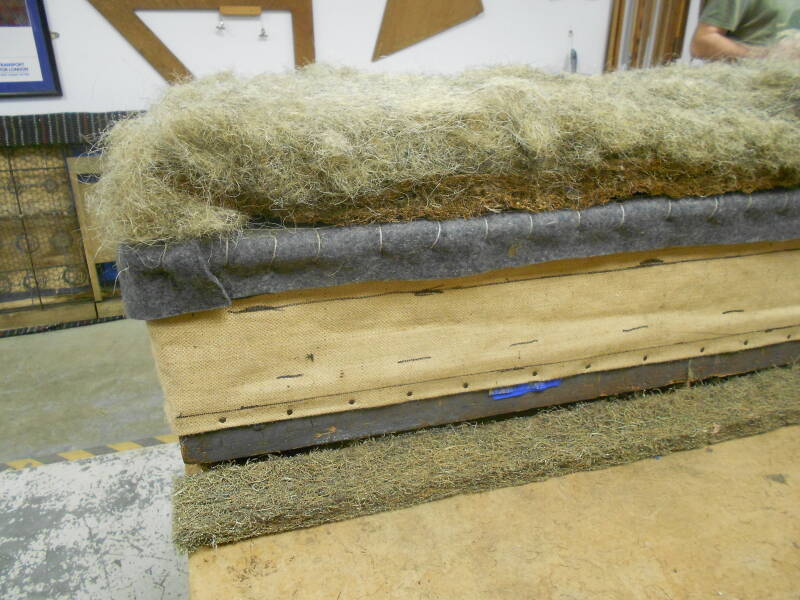
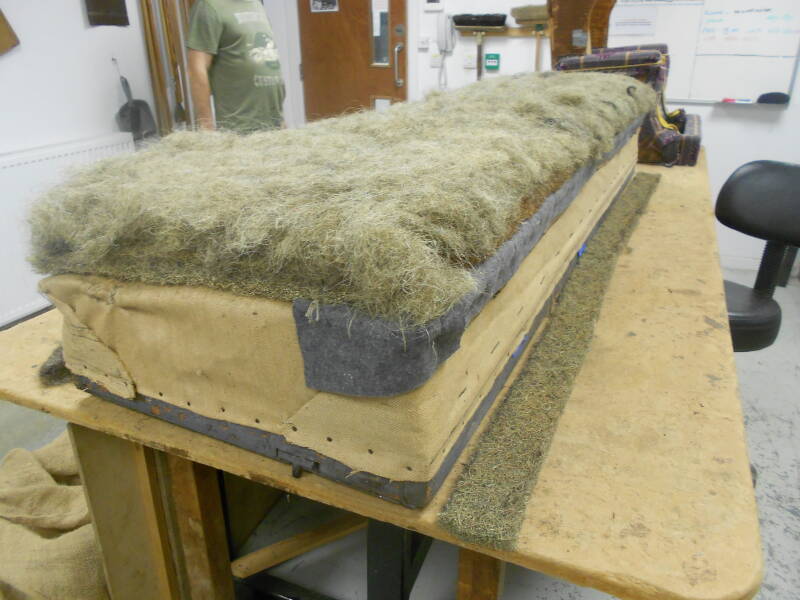
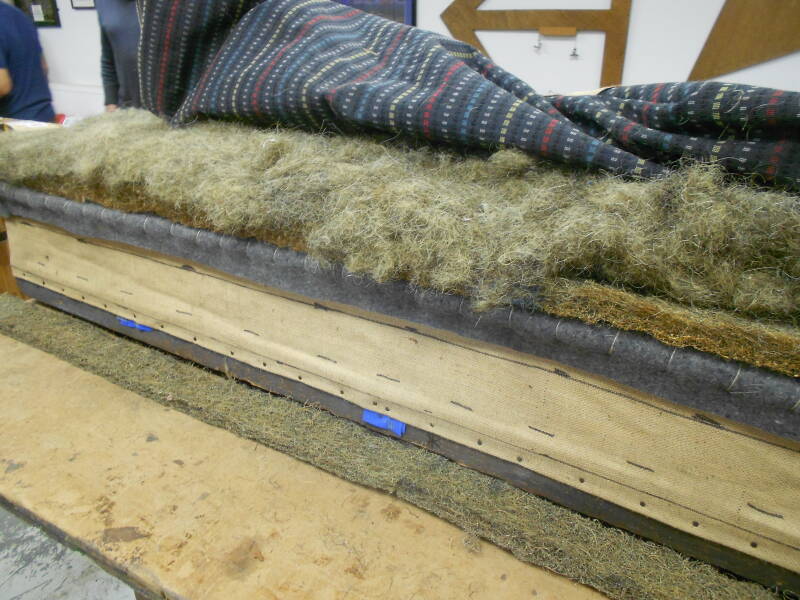
The hair pad
Second layer of felt added, before main hair pad. Once hair pad is constructed, this is strung down to the canvas awaiting moquette covering. This is the main comfort layer that will be sat on in the case of bases, leant on in the case of backs.
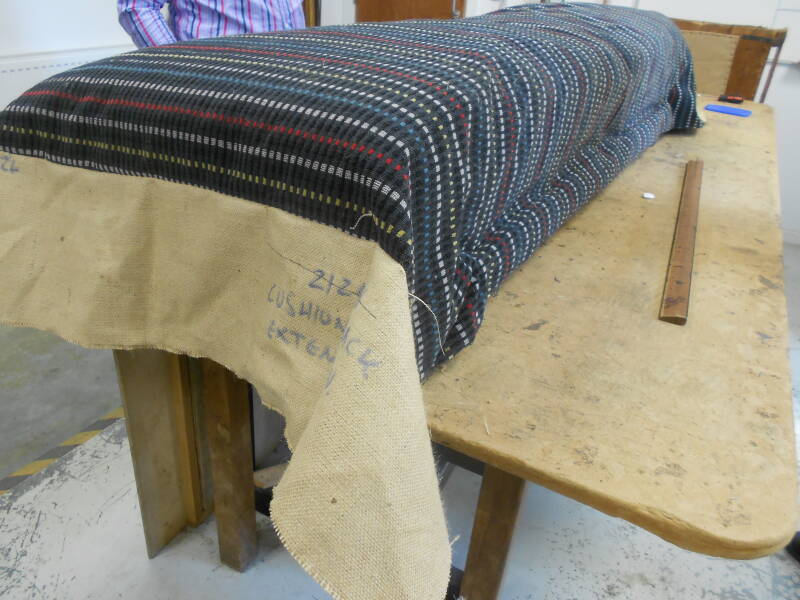
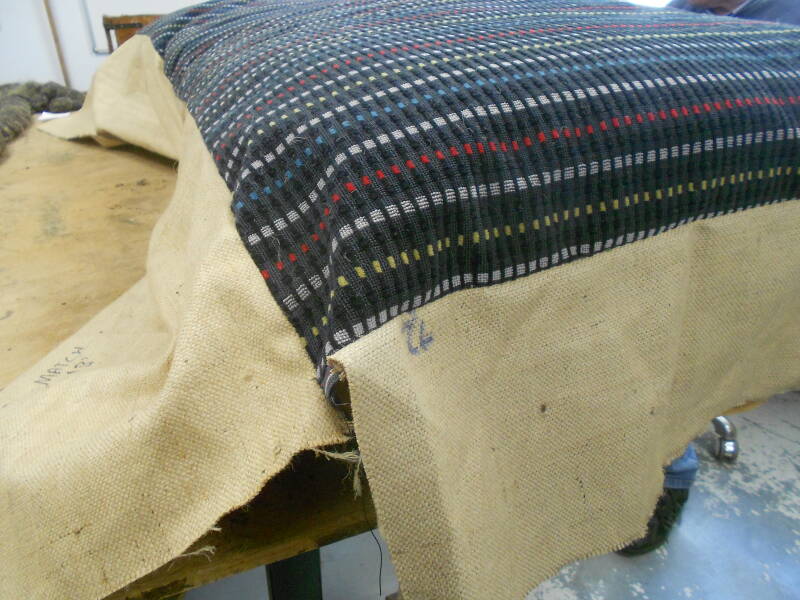
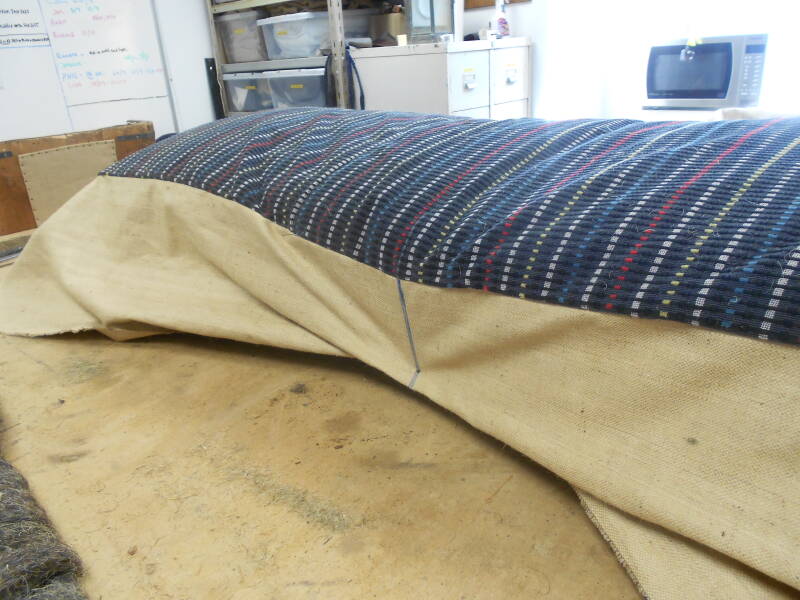
Constructing the moquette cover
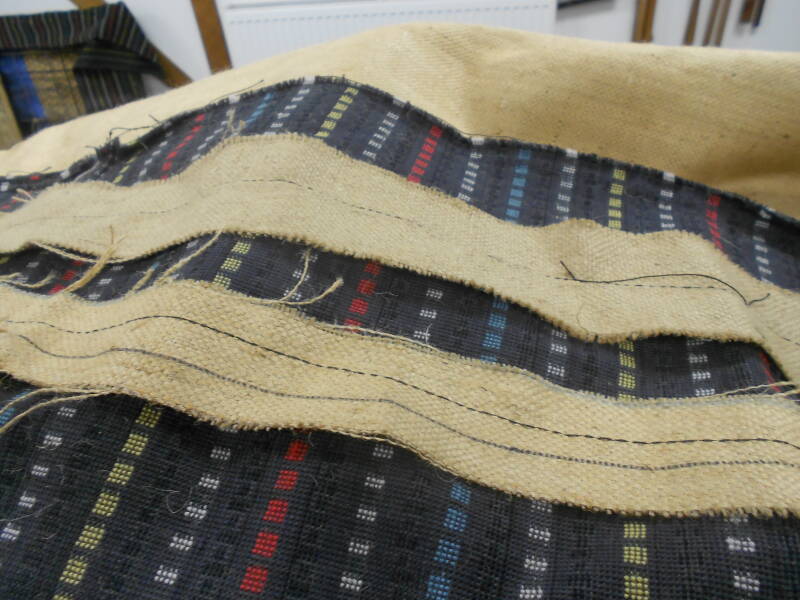
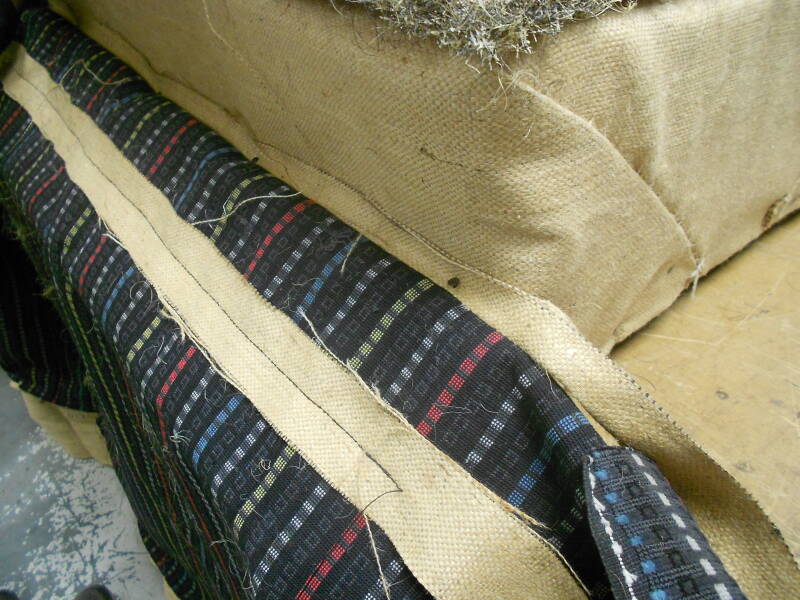
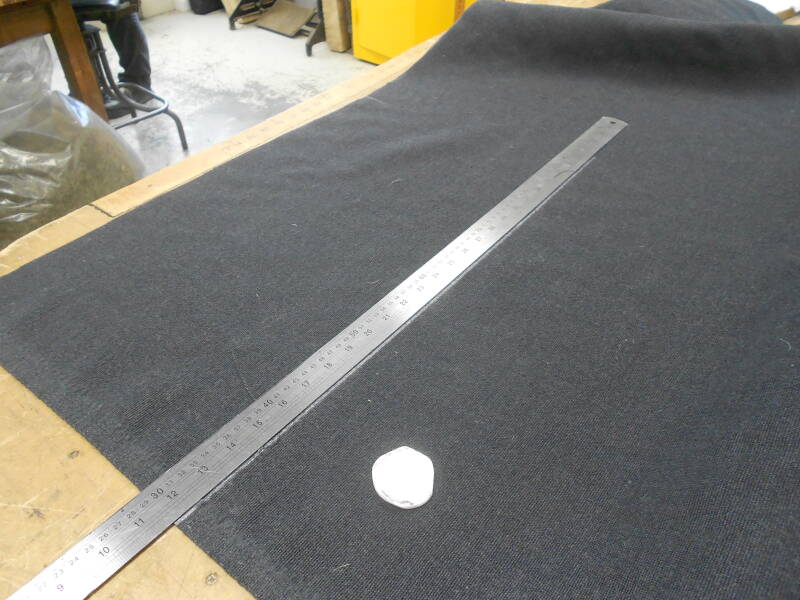
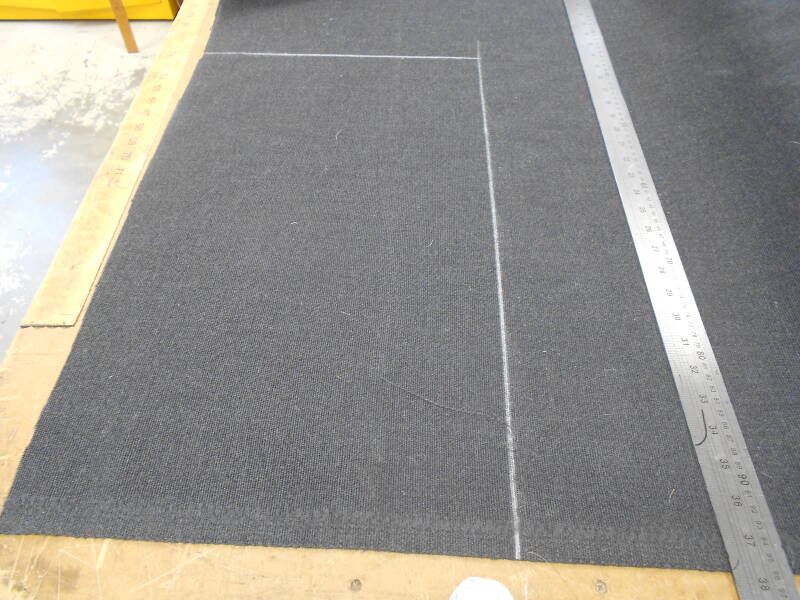
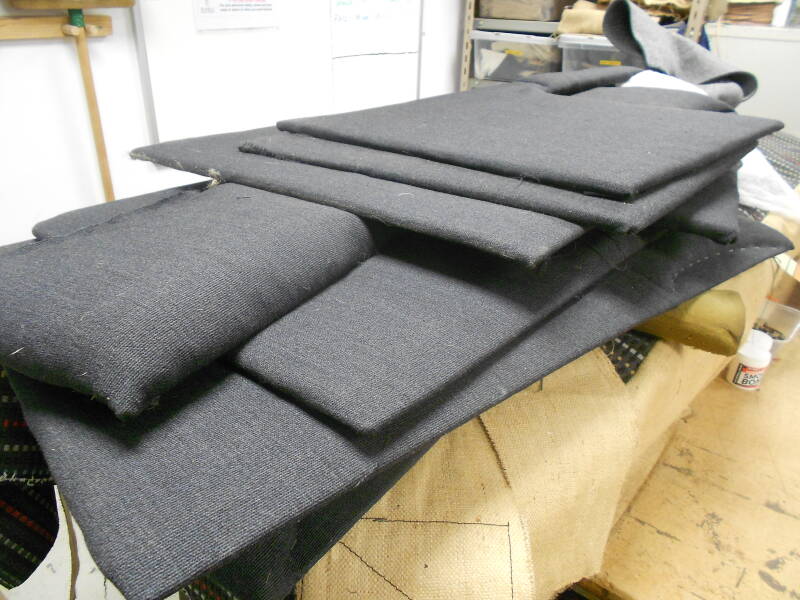
Canvas is cut out to size and machine sewn to moquette cover. It is added in 4 main places: front, back and 2 sides of main moquette panel to enable attachment of moquette to frame. In addition to this, this particular design has added cushion panels at the front, made from rubberised hair strips. For this, further internal canvas strips are measured, cut and machine sewn to the moquette covering across it's full width. This enables independent attachment of each strip, resulting in a fluted look rather than a flat panel look of simpler designs.
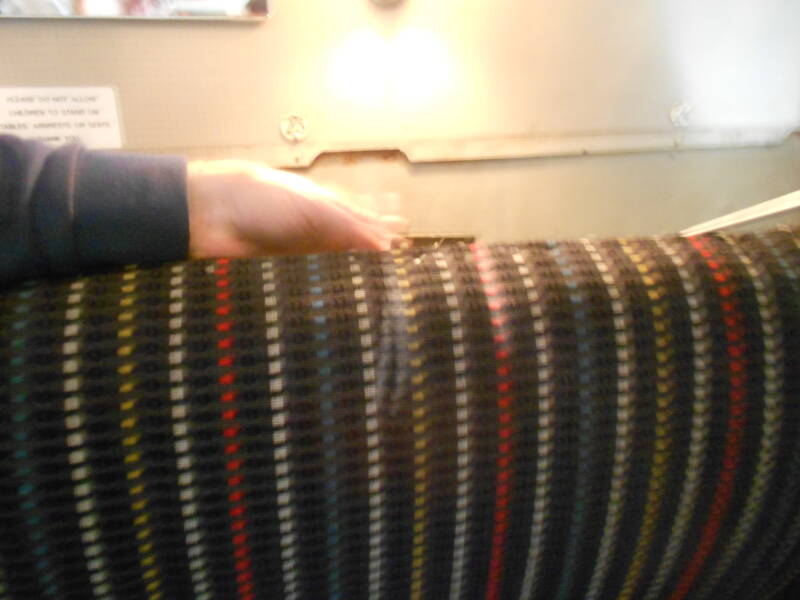
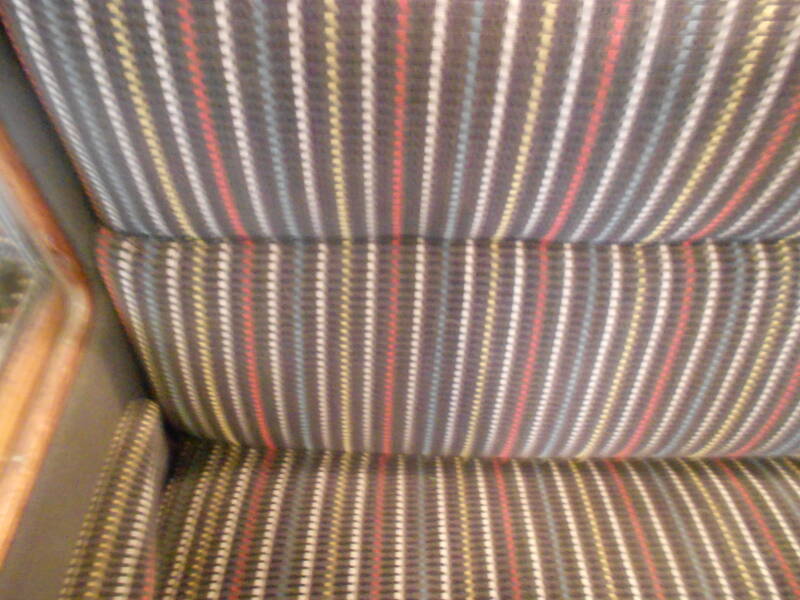
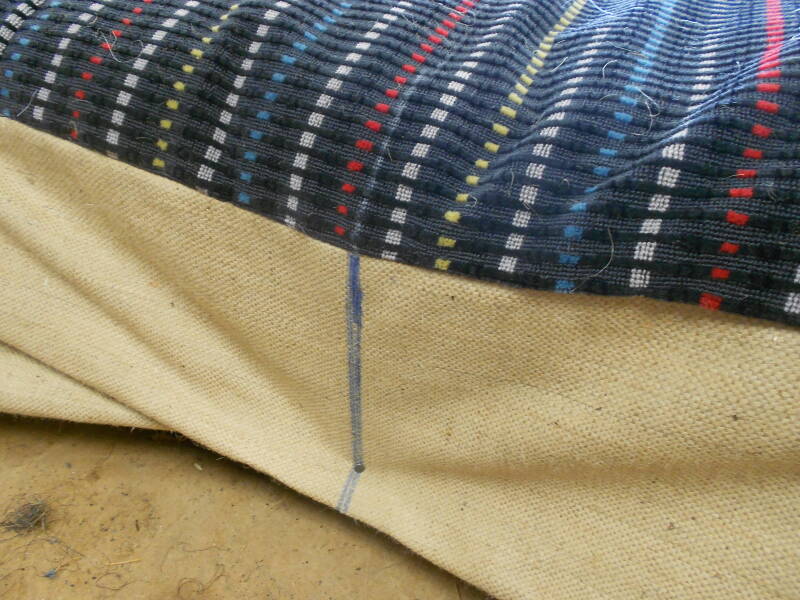
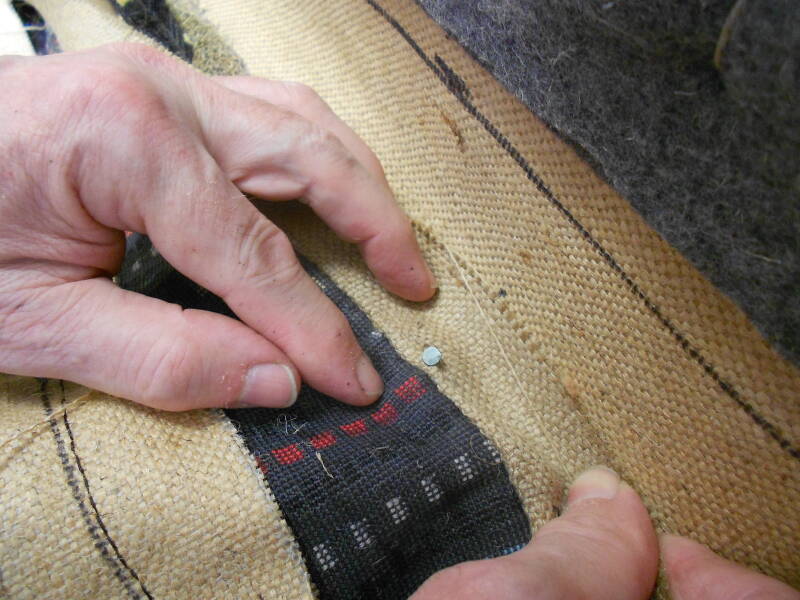
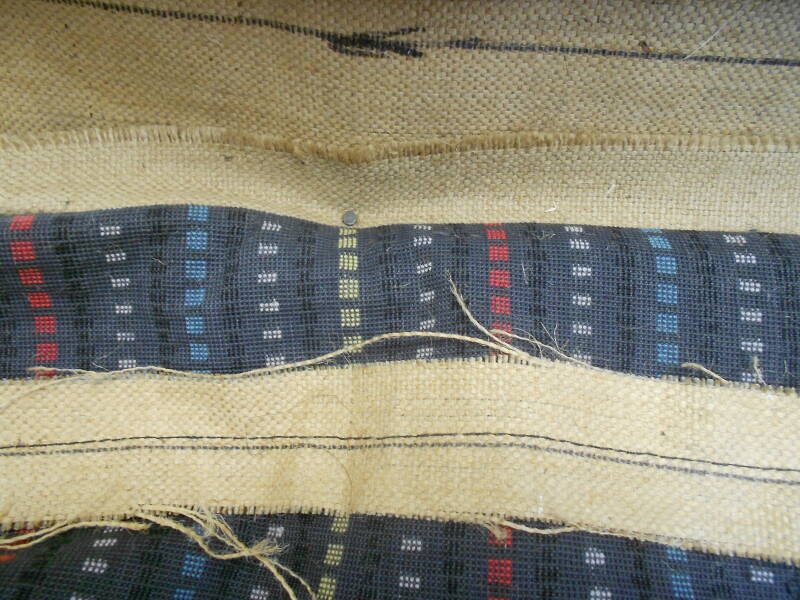
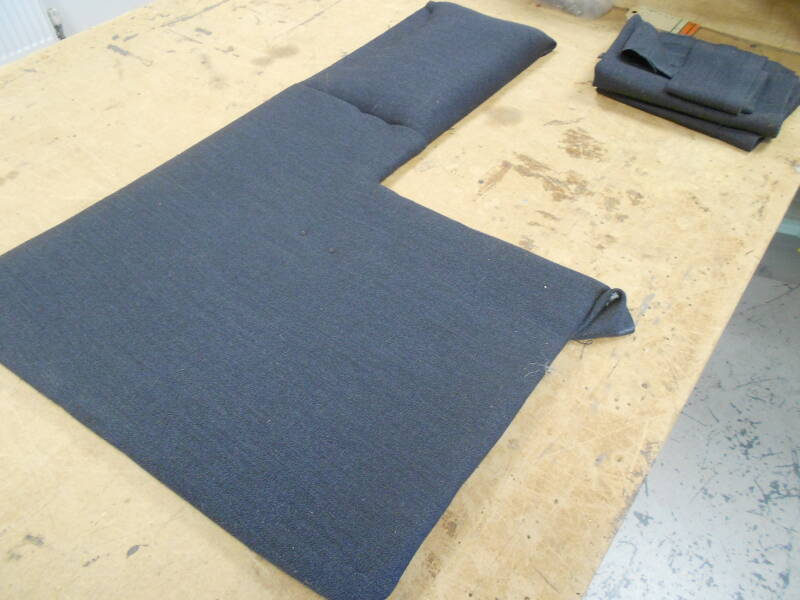
Each stripe of the design on the base had to line up with the corresponding stripe on the back / headpad before installing. The stripes also have a specific order and can only go in one orientation for correct placement. The stripes' colour order is reversed when placed upside down. The final image here is the completed seat back.


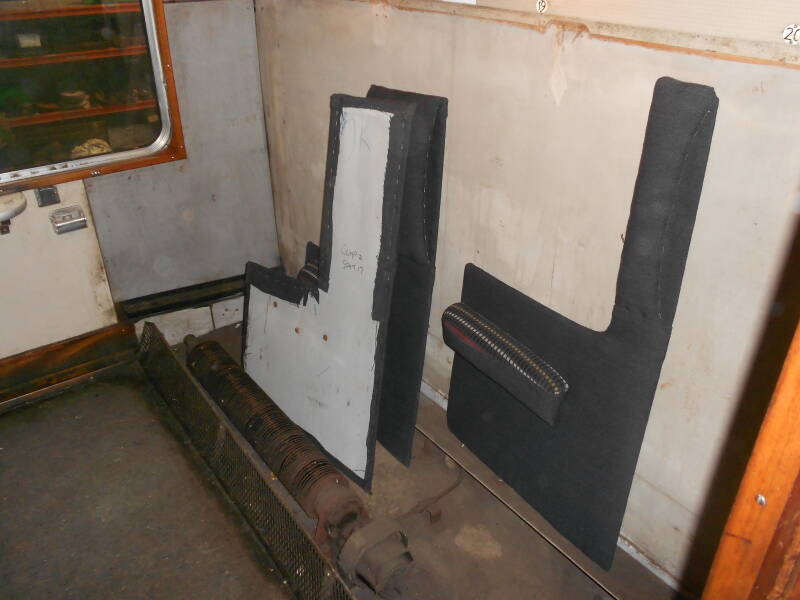
Designing and fitting Quarter Pads
Quarter pads are the railway equivalent of door cards in cars. They fit the four quarters of a carriage around the seats: wall trim. Each panel is different and some fit armrests. Patterns are custom designed to fit these hand-made panels, as they were in period. They must be in place in the carriage before seats can be fitted.
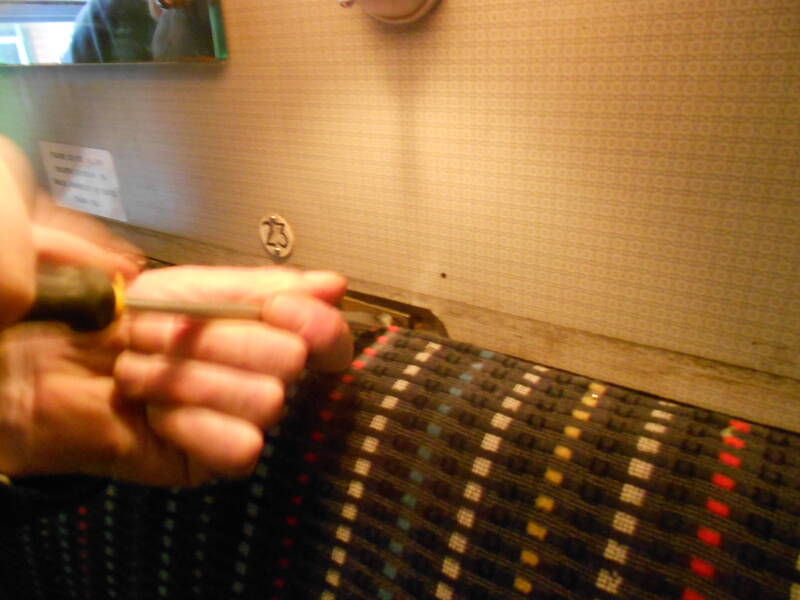
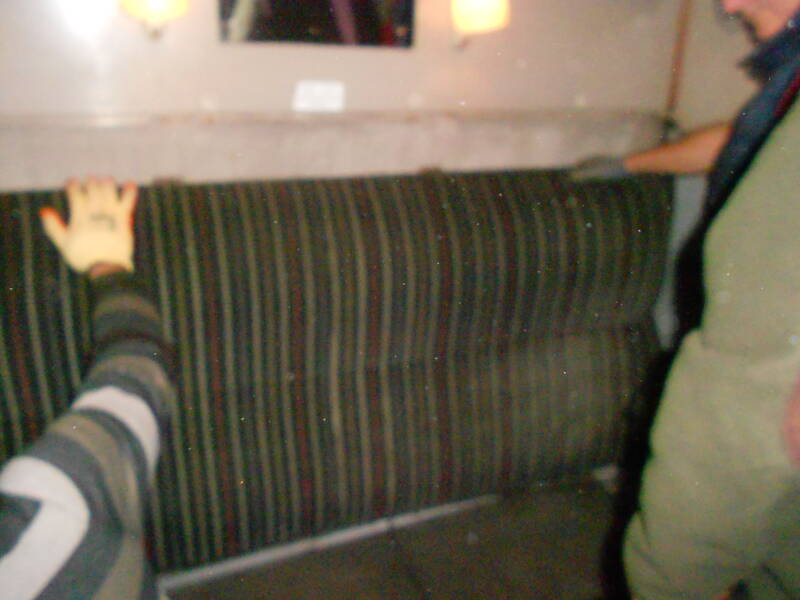
Installation
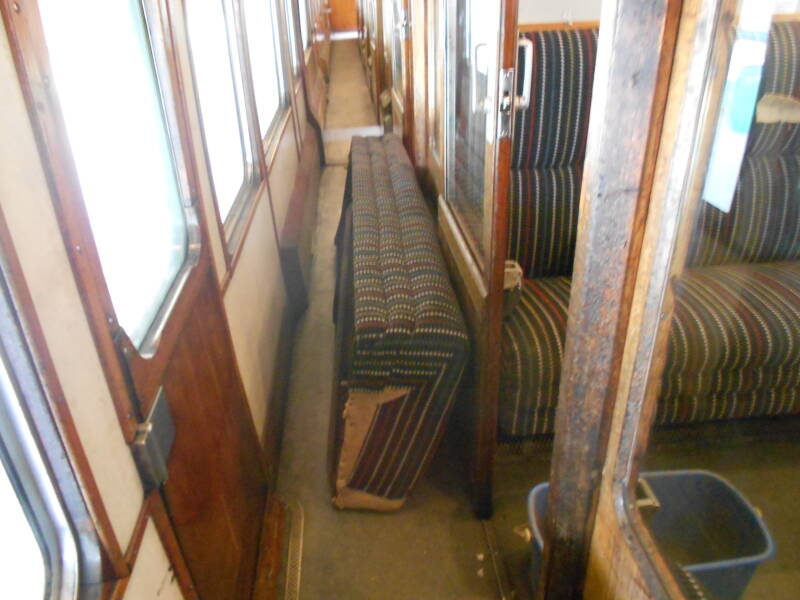
Teamwork for fitting an entire compartment: 2 backs, 2 bases and 4 quarter pads
Quarter pads first, then seat back hanging on compartment wall. Seat base guided under the back on the wall and pushed into place on the frame rails of the carriage.
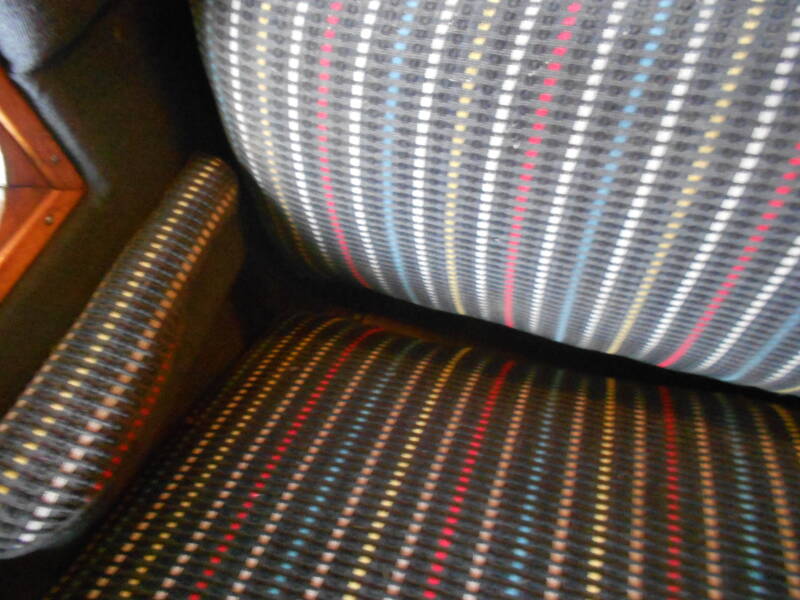
Each pair of base and back have each coloured stripe match uniquely for order and orientation. There is only one back for each base and vice versa, due to the cut of moquette. Each corresponding pair is marked accordingly and installed to create continuous matching pattern (stripes) from top to bottom. The 3rd and 5th photos clearly show the fluting at the front of the base as mentioned in the previous section.